Saturday, October 14, 2017

Throttle Panels

I was originally going to call these control panels, but I think they are too simple to be called control panels. I put one in on each end of the yard area of Norwich.  The labels help get a location and direction for people when the see the layout.   This also helps me keep thing neater and from knocking the throttles on the floor.


Tuesday, September 19, 2017

NHRHTA Reunion

On September 9 I attended the New Haven Railroad Historical and Technical Association Reunion at the Valley Railroad in Essex, Ct.  It was a beautiful day and a great time was had by all.  I went to dinner with friends at a Pizza place in Old Saybrook along the Northeast Corridor.  The night was capped off with an ops session at Chris Adams Valley Railroad layout.


Tuesday, July 18, 2017

The American Thermos Comapany

The American Thermos Company was a major part of Norwich from the 1920's through to 1986 when manufacturing finally ended.  I am using Walthers' Water Front Warehouse to represent the main building.  I will have some smaller ancillary structures as well.  I have also started to paint my track before I start on scenery.  I am using  camouflage brown as a base and then will weather the track later on in the process.


Friday, July 14, 2017

Progress


I have been able to spend some time working on the layout each night this past week.  I have been able to finish building the lift out bride, lay all the track and install the wiring for the south end staging. The only thing I have left to do is to install the plugs to disconnect the wiring for lift out section.  I am using trailer wiring extensions I picked up at my local Tractor Supply.

I will cut the extension in half and wire them to the DCC Bus lines.
They are only $3.00 each.

I have named the south end staging yard New London as it i the next major station south of Norwich as well as base for a local that traveled to Norwich.


New London

Tuesday, July 11, 2017

Photo Backdrops

Photo backdrops are in vogue now rather then painted or printed back drops.  I plan on doing one my self and there are various blogs and YouTube videos on how do do one.  I have found a great web site by Mark Roberts on the process of taking the pictures and things to do to make sure the images will look good and blend together when you stitch them together electronically.  He does not mention one soft ware program, ICE by Microsoft and the best part it is free.

Here is the web site:

http://www.robertstech.com/panorama.htm


Friday, June 23, 2017

Lift Out Bridge

I have the lift out bridge is going in.  I have roughed in and now need to reinforce it.

Sunday, June 18, 2017

Milk Train


I am just seeing how to get videos loaded on the blog.  Also testing out my St, Jay and LC 70 Tonners.

Monday, June 12, 2017

South End Staging Yard

I have finally gotten started on my south end staging. This will make it possible for trains to actually continue through Norwich like the prototype.  I have to build a lift out section that will care the a 90 degree curve to be able to connect the staging yard with the rest of the layout.  I built the bench work for the yard this past Sunday as it was in the mid 90's out side, so the basement was a cooler alternative.  I basically built a shelf out of three quarter inch plywood on brackets.  I topped it with Homasote.  It is 8 feet by 1 foot long.

Here is the shelf, I will add a basic back drop and and ballast the yard to at
least make it look nicer.

Here is where the lift out section will go.

Sunday, June 11, 2017

New England Proto Meet

I was able to attend most of the New England Proto Meet.  It is always a good time, lots of great models, clinics and friends.  If you have not been o a Proto Meet, you should give it a try.  Here are some photos from the meet:


Saturday, May 13, 2017

Conrail Concept

My concept for the 1977/1978 Conrail operation is an interesting case of proto freelancing.  Conrail is operating trains between Boston 
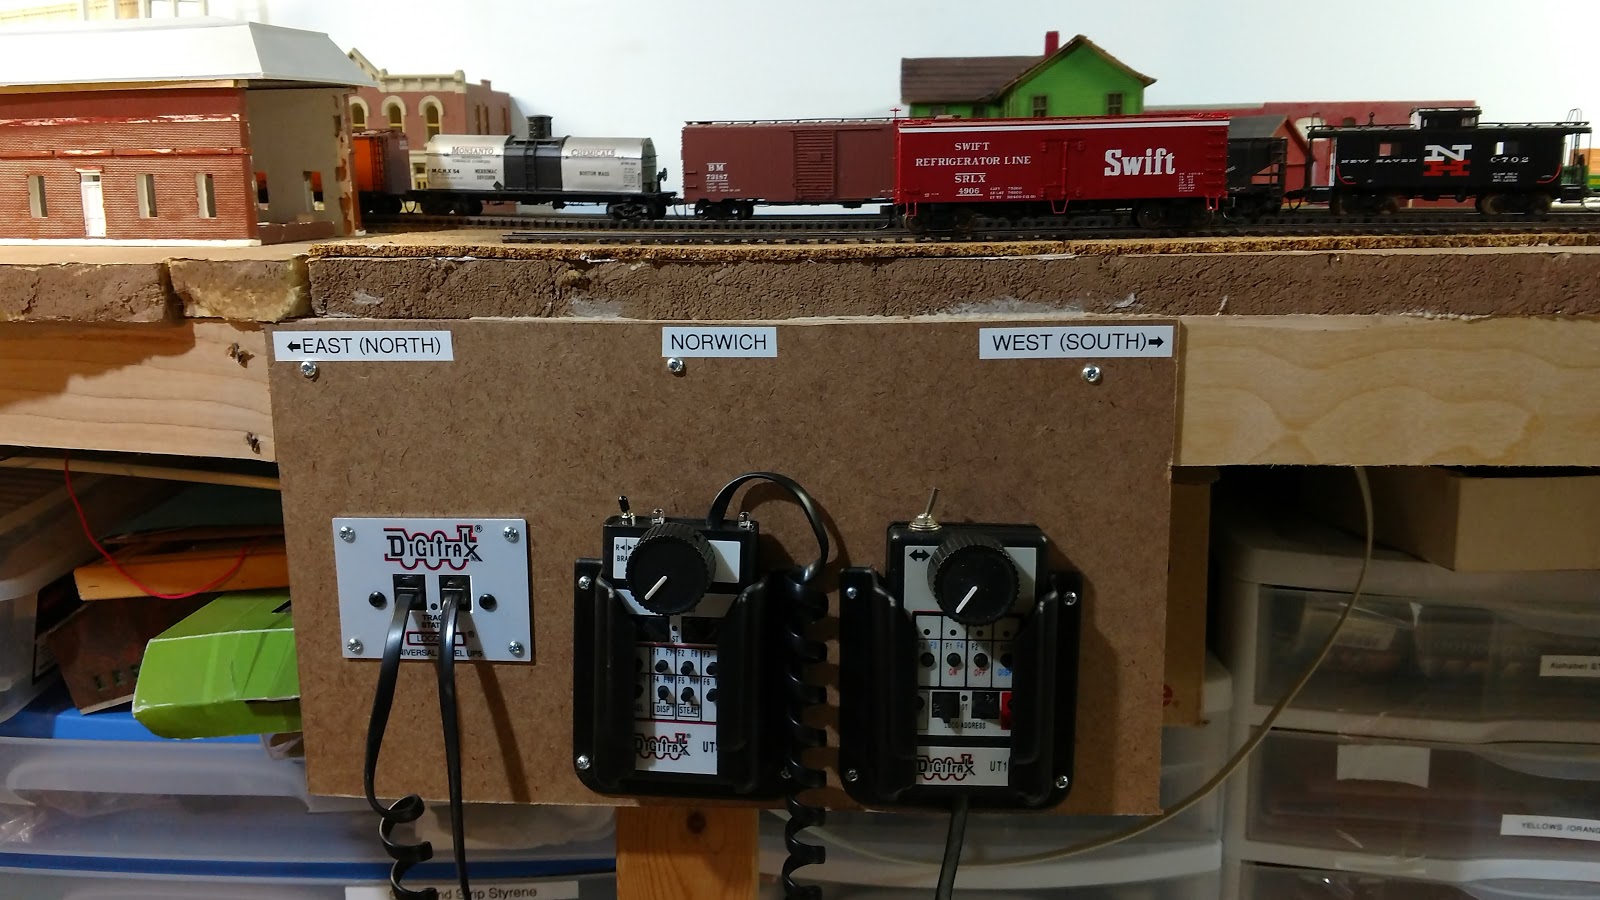
and Allentown yard using the following route.  Boston to Putnam, CT then to Willimantic and on to Hartford CT.  From there the route goes to Waterbury Ct then down to Turkey Brook yard then turns westward to Danbury CT, into NY State and across the Poughkeepsie High Bridge, into the NH’s old Maybrook yard,  From there the route takes the old Lehigh and Hudson river down to where it meets the form Reading main then west to Allentown yard.  This route is over 230 miles.  This is basically a portion of the old Alphabet route.
A couple of things have to happen dating back to 1955 for my scenario to work.  First the line from Putnam to Willimantic was severed in August of 1955 by floods.  A bridge in Putnam was washed out and never replaced, eliminating a direct route from Boston and Hartford.  In all of my operation scenario this bridge is rebuilt and the trains that use it continue.  In 1974 the Poughkeepsie bridge burned and was never repaired by the Penn Central or Contrail.  Here again I am making it that Conrail repaired the bridge, pressure from both New York State and Connecticut.  This also gives Conrail a line for fright to and from the southeast as well as keeping more New England freight off on Amtrak’s NE Corridor and the Springfield line.  
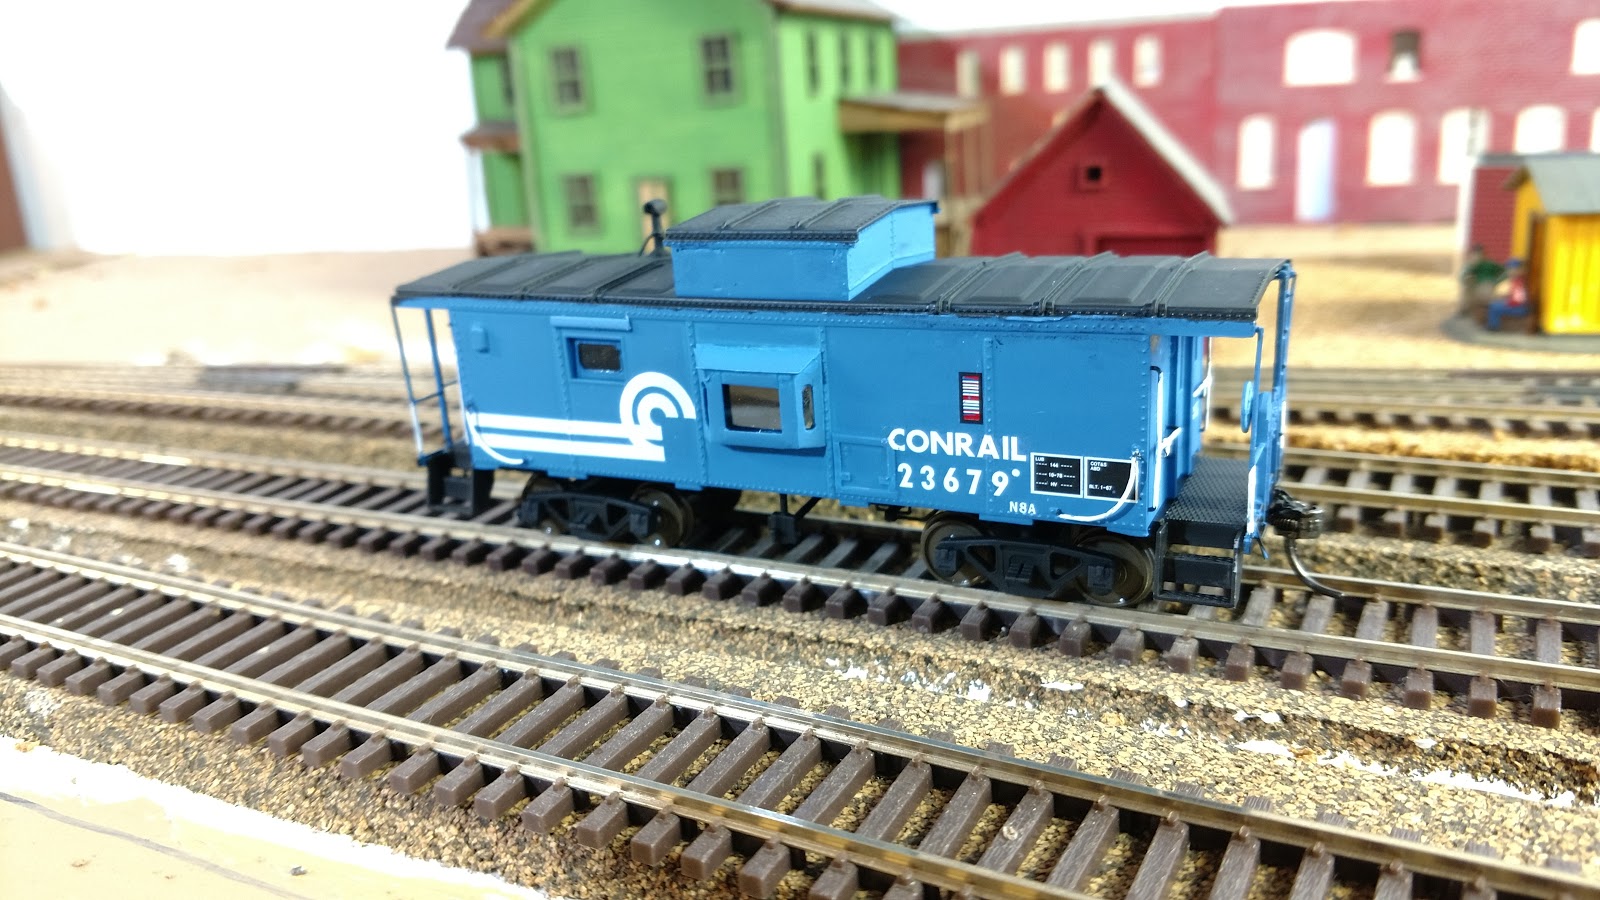
Besides the typical Conrail equipment normally seen in the New England Region, it will fairly common to see former Reading, Lehigh and Lehigh and Hudson River locomotives showing up with much more frequency.

To add to this interesting scenario, Amtrak has reinstated the East wind from NYC to Portland Maine running over the line from Hartford to Putnam then north up to Worcester, MA then on to Maine. This will be using an F-40 and Amfleet cars.  Amtrak is also operating MOW equipment from Putnam back to Hartford to help upgrade the line for faster passenger service.  To add to the traffic level and variety, the CT DOT and the MBTA have teamed up to provide direct commuter style service between Hartford and Boston.  Equipment will be a mix of MBTA supplied equipment plus leased equipment by CDOT such as RDC’s and other older from Amtrak rolling stock.  (This is also the same time period that the MBTA leased the four Alco PA-1’s from the D&H.) Old E units and a mixed bag of old NH, PRR and PC equipment can show up in this service.

This map gives the route that I have created in my Proto Freelance Conrail Operation.

Sunday, April 30, 2017

Conrail N8A Finishing up

I have decaled and added the various grab irons and railings to the N8A.  I did cut off all of the rungs on the ladder except the one that is near the top railing.  I used Model Flex Paint from Badger to paint the model.  I have found I can order individual two ounce bottles from them via Amazon for $6.95 each, with not shipping costs. Mt Vernon car shops makes a nice decal set for Conrail Cabooses and should have everything you need to do it correctly.  I decided to cobble together all of the lettering from carious sets I had on hand.  I used an Old Accu-Cal Multi set, Microscale Conrail diesel set, Microscale Penn Central caboose set and Penn Central Historical Society caboose set. 

Here is the Conrail N8A next to an as delivered New Haven NE-6 in it
delivery paint scheme.

You can see the new smaller windows, I simply masked the supplied
window material to create new smaller window.  The added side vents
around the window are also visible.


Saturday, April 22, 2017

Quick Fix

Everybody makes mistakes, even historical groups.  The NHRHTA had a custom run of Intermountain box cars done in two paint schemes, delivery and the final NH paint scheme. Unfortunately an extra serif somehow ended up being added the the N in the logo.  I simply used a #17 chisel blade to scrape off the offending serif.  I did ding up the box brown paint a bit, but I will be able to cover it up when I weather the car.  the fix took less then 5 minutes.

Before

After

Thursday, April 13, 2017

Out of the Paint Shop

Know that I have a dedicated painting spot, I find it very easy to go down to the basement and paint. With out having to set up and tear down an area I can paint very quickly and be done.  Here are a few of my on going projects.


This shows the RS-11 with the modified cab window and fuel tank. I added the train
control box, extended the elevated walkway and added the steam generator details.

This photo shows the steam generator parts better.

This is a Walthers caboose from years ago, not 100% accurate for the PC or Conrail, but a decent stand-in.
I dd not make any changes to the model other than pant.


Here is the Conrail N8A showing the new bay window and the other windows filled.


Here is the RS-3m


Here is the Amtrak RS-3.  It is a former NH unit and still has the train control box.


You can see the roof vent and antenna on the cab as well as the old steam generator vent.

My friend Paul will be happy to see that his locomotives are finally painted!

Monday, April 10, 2017

Masking Monday

I finally was able to spray the Red/Orange on the FA's for my friend and have now have masked them for the black paint.  I use Frog brand masking tape and it seems to work well.


Sunday, April 9, 2017

B&M Rebuilt Caboose

In the 1950's the B&M sent a number of steel under frame, wood body cabooses to International Car to be rebuilt into more modern all steel cabooses.  A number were built with cupolas, c-51 to c-134 while some had none and were used as transfer cabooses.  This is another kitbash that has been sitting on my self for a long time.  The car body is an Atlas caboose and the cupola is a kit from Moloco. You basically cut out the the section on the body that original cupola was over. (where there is no roof.)  I had the wrong cupola kit from Moloco and there web site says they are sold out, so I simply cut the solid pieces of the side walls, used the kit widows in the corners and used some sheet styrene to fill in the gap in the center, you can see the changes in the photos.  One small window on one side needs to be blanked out and a filler strip of styrene to create the straight side sill.  You also need to cut down the under frame and the weight to it the length of the body.

The three Main components.

This shows the modified body with the blanked window, cupola with
changes and the filer on the sill. 

Here is the section I removed from the body.

Here is the other side, it keeps its window.